A number of small successes - the Daihatsu Charade Experience
Overheating
Overheating
A friend of the household decided it was time to make visit home to the US, having spent a few years here in Western Australia. On her way out she left her car (a G200 Daihatsu Charade) and gear for us to look after. She said there were "a few things wrong with the car", like it overheated "but only when you are doing stop-start driving, when you are on the freeway it seems to be fine". Her mechanic suggested that there may be a head gasket problem or something equally expensive. He put in a can of 'bars leaks' and hoped the problem would go away.
After a few days we needed to shift the car and, seeing as the sun was shining, I thought I'd take a quick look under the bonnet and see if there was anything obviously wrong. Apart from a vacuum hose that had been accidentally disconnected there didn't seem to be a lot wrong. The radiator fan was also operating all the time (it's not meant to while the engine is cold). And the heater had been bypassed - an email confirmed that there had been a heater leak and the cheapest easiest solution was simply to by-pass it. Not like it gets all that cold here after all.
While I was looking at where the radiator is fitted I noticed something a bit unusual. The radiator sits across the front of the engine bay (as is usually the case). But in this car the radiator is so small that it only fills half the available gap. Looking around I noticed there was no air-conditioning fitted to the car either. And where the AC radiator would normally have been was, well, nothing. The result is a bit like having a fan heater in your living room - hot air would circulate around and around and around, just getting hotter until the car got too hot and boiled over. Which it did. Hmmm.
To test the theory, I went rummaging through the recycling bin and found a suitable piece of cardboard (aka a pizza box) and jammed it in to fill the void. As it happens I needed to do a few messages the following day so that seemed as good a time as any to 'test' what happens when the car was running. Barely got to operating temp, let alone overheated.
Success number one!Indicator Bulbs
A few days later, my landlady took the little car for a drive to the shops and back.
"There seems to be something odd thing with the indicators" she said. "Sometimes the ticking is like normal, and sometimes it goes completely demented".
"Was it demented when you wanted to turn left by any chance?"
"Yes! How did you know that?"
Ok, I had noticed that too. In most cars that fast ticking is a signal that one of the indicator bulbs (or globes) needs to be replaced. The quickest and easiest way to find out which bulb is to turn on the hazard lights, then walk around the car looking for lights that don't, erm, light. On the charade there are three indicator bulbs on each side - front bumper, front quarter panel, and rear cluster. Surely enough it was the front bumper on the left side.
Getting the bulb out is pretty easy. There is a Phillips (or cross) head screw that holds the assembly in place. Remove the screw, pop off the lens, pop out the housing. The bulb is a bayonet type. To remove it hold the housing with one hand, and with your other hand push then turn the bulb. Behind the bulb is a spring loaded part that will push the bulb out. If you don't have a replacement handy just put the assembly and lens back in place and screw it in while you take the bulb along with you while shopping for its replacement.
By coincidence, my landlords had a bulb go in their car, so the next day I was off to one of the local car parts stores. A bank-breaking $2.20 each and back home to install.
Installation is pretty much the reverse of removal. Undo the screw, remove the lens and housing. The bulb has to be pressed in (to overcome the pressure of the spring part) then turned. When you let go of the bulb it should stay in place - if not then you probably haven't turned it quite far enough. Test that the new bulb is working correctly (before you screw the assembly back in place) by putting on the hazard switch. Once you are happy with it all then pop the housing, lens, and screw back as they should be.
Success number 2!
Heater Core…
Wouldn't you know it, about a week after all that there was a cold snap. Brr chilly one degree mornings. That was enough for us - better fix the heater after all. A few phone calls revealed that a new item was half the cost of fixing the leaky one. But a used one from a local wrecker was almost half that price again. Since the car is nearly 17 years old I didn't see the point in spending a zillion dollars.
The wrecker visit was interesting. They had an identical model right on the fore-court so scavenging for bits was nice and easy. First we had a look to see if the core in that one was any good - but it had been bypassed just the same so that wasn't likely. I took the opportunity to see if a stuck relay was causing the fan to continually run, but swapping out the relay made no difference. Actually I could feel it switch on and off so the relay is operating correctly after all. Shrug. $60 later and a used heater core was on its way home.
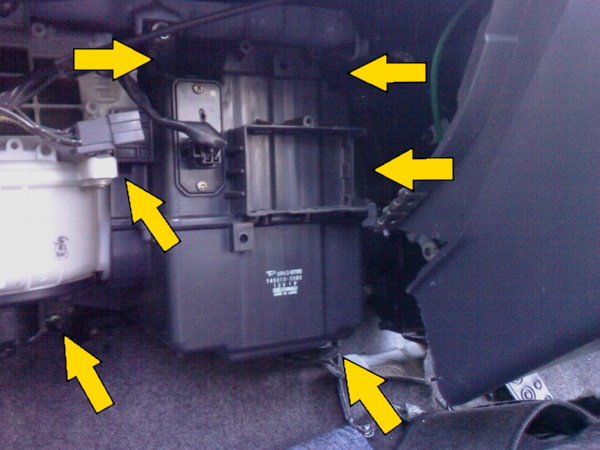
Now, to get the dead one out. I (foolishly) though this would not be a big deal. Seems I should not think. Let me explain. There are three sections to the heater and fan components (not counting ducting); Fan (right by the passenger side), Air Conditioner (just an empty plastic box in this car since A/C was not installed), and the heater/vent section. The Air Con section came out really easily, only a few nuts and a couple of bolts. The heater section is a completely different story. The designers, in their infinite wisdom, chose to actually use the extra 20 square centimetres of plastic that make it impossible to remove without removing the dash. And the cross-car brace that also holds the dash and steering column in place. Yes, that means this also became a total dash removal job.
I gave up for the day at that point.
The rest of the job took a full day. Admittedly I was taking my time while pulling things apart, mostly because I wanted to avoid pain and injury as much as possible, but I also didn't want to damage the car (well, not until later at least).
Tools you will need:
- Phillips screwdriver
- Large flat screwdriver (or something to lever with)
- 10mm socket on a small ratchet drive (I have a ¼ drive that is ideal for this sort of thing)
- 10 and 12mm sockets
- Wobble-bar or universal drive. I have a 'barrel' style wobble bar and which was ideal for this job - there are several bolts that are more or less impossible to get to without one.
- Ratchet and long (6"or so) extension
- A beautiful assistant
So, here's what you have to remove:
- Heater hoses from the heater pipes in the engine bay (2 spring clips).
- Glove-box (2 screws).
- Glove box carrier (4 bolts).
- Remove the bolts and nuts holding the air conditioner box in place. If your A/C is actually installed this may be a challenge, you might have to have it de-gassed and so on before beginning. Small mercies here ;)
- Remove the bolt at the passenger end of the dash. This makes it easier to get the upper bolt for the cross-brace.
- Cross-brace end bolts (2 at the passenger end, 3 at the driver end).
- Knee panel under the steering column (4 screws, unplug a switch, grub screw and locating nut for the manual choke).
- Steering column (6 bolts, 2 nuts). Note - the upper bolts are a different size from all the others.
- Remove the radio. You don't have to remove the radio sleeve, just unplug the cables and aerial.
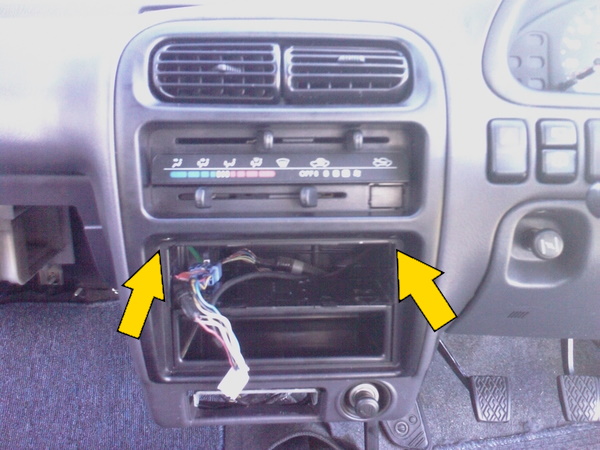
- Centre console surround (2 screws and a couple of clips).
- The heater assembly has 4 nuts at the back, 3 screws holding cable clamps, 2 vent cable thingys. There are also 4 bolts at the front, accessible through the hole where the centre console surround was.
- There is an upright brace on the drivers side, 2 bolts and 2 nuts at the top, one bolt at the bottom.
- Speedo cable detached from the gearbox so you can pull the instrument cluster forward. Instrument cluster surround (2 screws), then the cluster (4 screws).
- Behind the cluster are 2 bolts and 2 nuts holding the upper section of the cross brace assembly.
- Finally there are 4 small bolts across the front/top of the dash to be removed.
- Putting the whole shebang back together is the reverse of removal. You will need your assistant when re-fitting the heater section (to hold the dash up and out). They will also be useful when putting the 4 upper bolts in place - this is fiddly and requires some patience.
- When the dash is in place, have a look at the centre console area. There is a vent at the top, the lower edge of the vent has a couple of lugs with a hole in each. There are small round tabs on the dash that go into the lugs thereby locating the vent correctly. This is also a bit fiddly and may need some patience (and a screwdriver to lever it)
- Refit the 2 bolts and 2 nuts holding the upper section of the cross brace assembly.
- Refit the instrument cluster and the surround.
- The speedo cable can be pulled back through and reattached to the gearbox.
- Refit the cross-brace end bolts (2 at the passenger end, 3 at the driver end).
- Next install the nuts and bolts for the heater section and the vertical brace. Tip: don't do them up tight until all are in place otherwise alignment may be a little difficult.
- Steering column (6 bolts, 2 nuts). Remember the upper bolts are a different size from all the others.
- Knee panel under the steering column (4 screws, plug in a switch, grub screw and locating nut for the manual choke).
- Centre console surround (2 screws and a couple of clips).
- Radio (plug in the cables, then slide the radio back in the sleeve).
- Dash bolt (but check the cross-brace is tight first!).
- Air Conditioner box (4 nuts and 2 bolts I think).
- Glove box carrier (4 bolts).
- Glove-box (2 screws).
- Heater hoses from the heater pipes in the engine bay (2 spring clips).
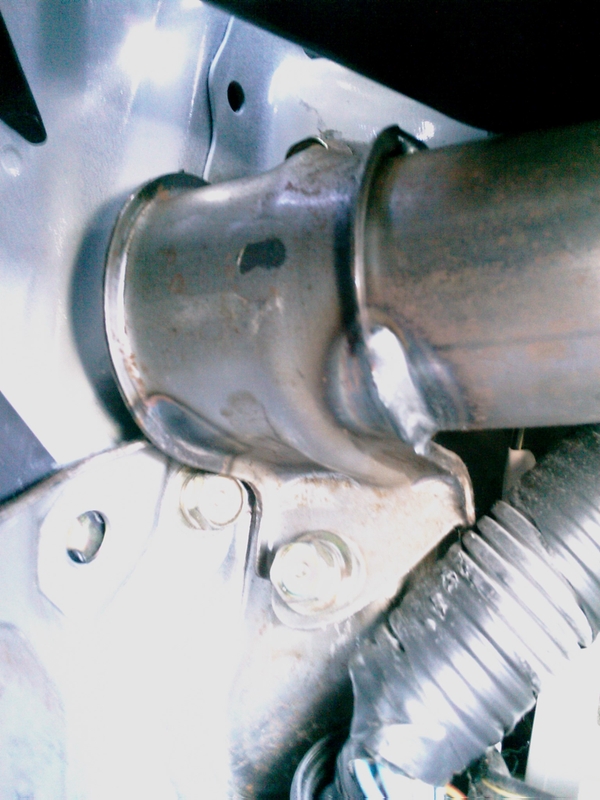
- First, remove the radiator cap from the top and drain plug from the bottom of the radiator. Then detach the upper and lower radiator hoses. These have metal reducers fitted, changing the pipe diameter. The hose that attaches to the plastic tanks is easier to remove than hoses onto metal. Disconnect the rubber overflow pipe from the radiator.
- Undo the fan power cable plug.
- The radiator is mounted using two brackets at the top. They just unbolt, then the radiator should just pull straight up. At the bottom there are 2 pins that go into rubber mounts, which makes re-fitting easier.
- Flushing the radiator is a matter of replacing the drain plug, taking a hose (a modest pressure is required) and stick it in the lower hole and waiting for water to come out the upper holes. If your radiator is anything like this one then it will be blocked something chronic and you will get very wet trying to get a reasonable flow happening. Flushing the engine is the same deal, just through the upper hose. Keep the hose going until you are sure only clean water is coming out.
- Once the radiator itself is dry you might like to do a proper visual inspection. If there are signs of nasty corrosion it may be worth getting it checked by a radiator specialist. If you are satisfied that it is ok, you may also choose to spray it matt black (something to do with making heat transfer better - but then I am not a physicist so I really couldn't confirm that).
- While that's drying off, check the hoses are all ok, replace if you are not sure. Cheap insurance against random hose failure. Which has happened to me. Twice. Include those important heater hoses.
- Once all is in place and you are happy it's right, refit the radiator and the (new?) radiator hoses. Fill with appropriate coolant. Take a minute to put some coolant in the overflow container as well. Refit the overflow hoses. Check for leaks.
- If you are happy all is well, start the motor and let it idle, topping up with coolant as it is sucked through the system. Eventually it should almost overflow. Pop the radiator cap back on, turn the heater on and go for a short drive.
- Check for leaks again. Leave it to cool down (overnight works for me), then remove the radiator cap and check the coolant level. In theory it will be just below the top of the radiator. Add a little, refit the cap, and the job is done.
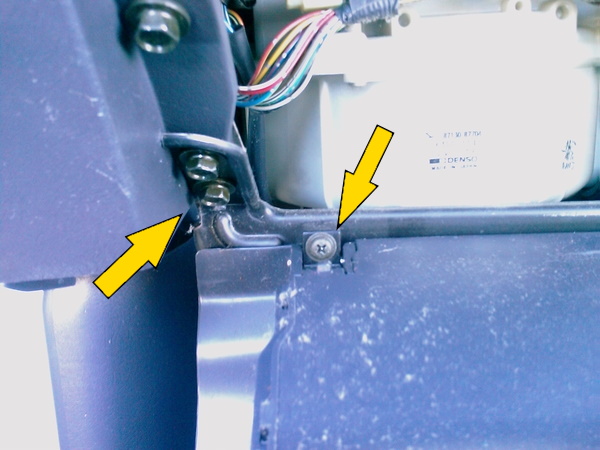
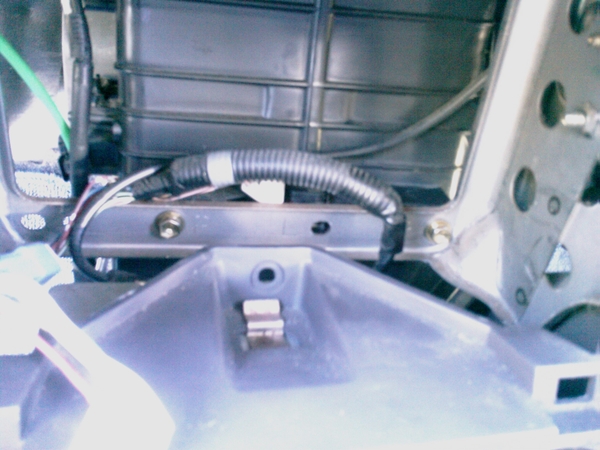
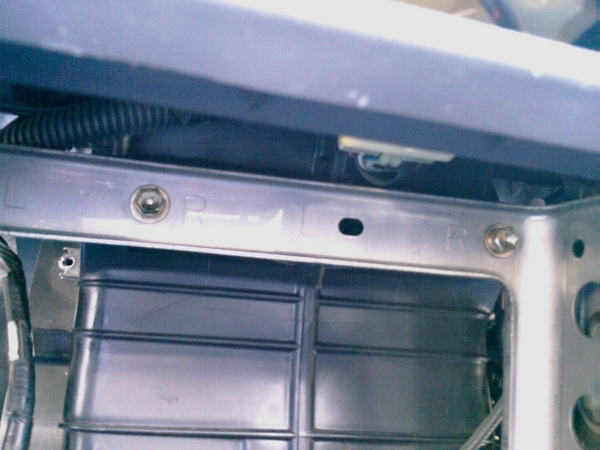
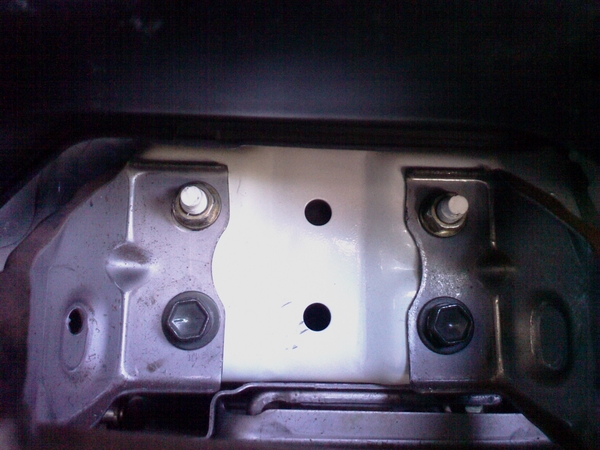
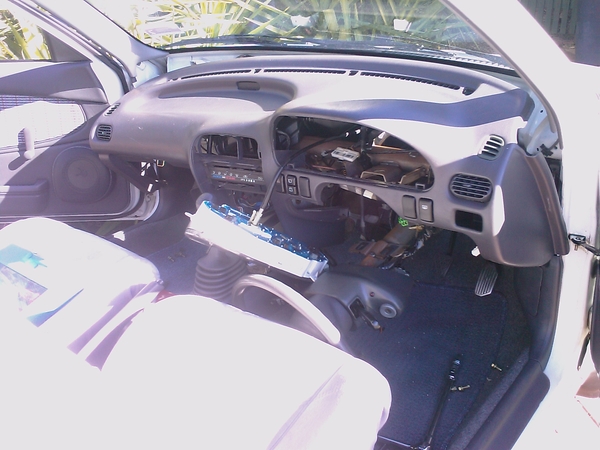
This should result in the entire dash trying to fall on the floor of the car, which is kind of painful when you are under it wriggling the heater part out. I recommend this as being a really useful time for a beautiful assistant to sit in the drivers seat and hold the whole lot up and out so you can do the hard wriggling part. If you don't have a beautiful assistant then a couple of sturdy braces will just have to do.
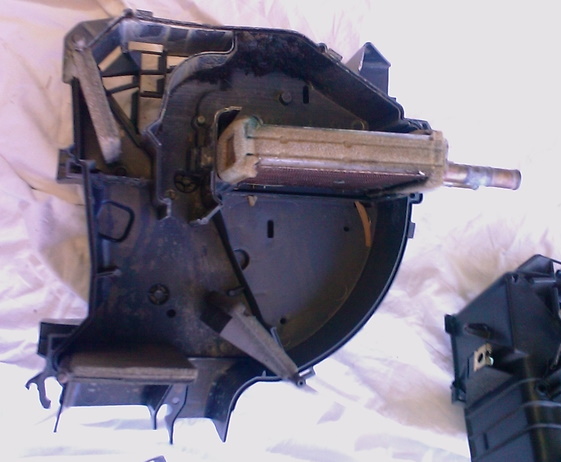
Getting the heater element out of the heater assembly is pretty straightforward. There is one screw hidden down a crevasse, then pop off the spring clips. Gently pry the assembly apart. You should have two assembly halves (the vent flaps should stay in place), the heater core should slide out - remember to take note which way round the nylon insert goes. The insert can be removed and fit to the replacement core. You will also find the 'bottom' of the heater assembly is full of gunk, nothing a good hose out won't fix.
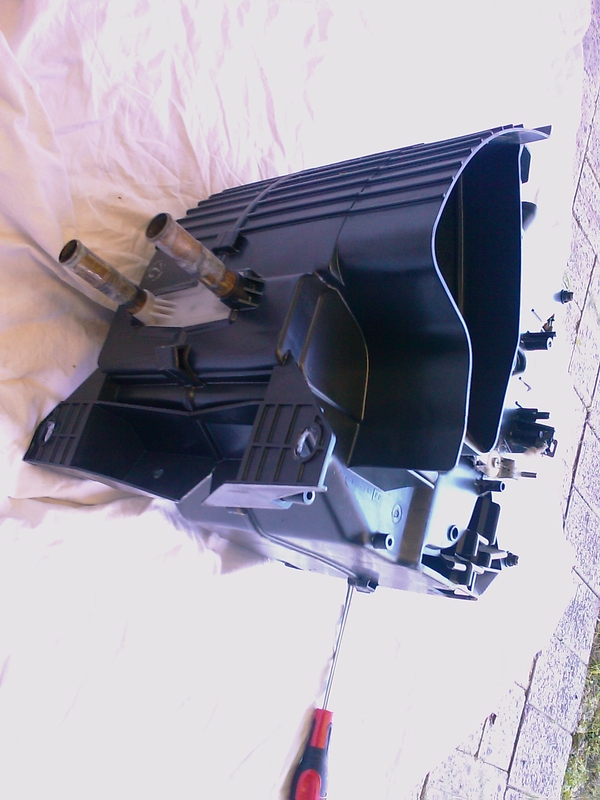
Putting the heater box back together is the reverse of taking it all apart. Be careful to make sure the vent flap hinge pins are correctly aligned - too much force with those out of place could damage the casing.
Installation
Phew!
Finishing the job - radiator and engine flush
Update
To be certain that these efforts had the desired results, my landlady used the car for the next couple of weeks. Did not miss a beat, very happy with the car. We even filled it with fuel in preparation for the owner to return. Should be totally enraptured, right?
Some people are just not very bright. When the owner came back I showed her the temporary air blocker (AKA Pizza Box) and suggested that this should be replaced with something a little more permanent at some stage. She duly took the car to her mechanic who removed the pizza box while cursing the stupidity of others. Did nothing else, sending her away. 2 days later her car boiled over in stop-start traffic, never to go again. Apparently it is all my fault. Can you see me shaking my head in utter disgust? I thought so.