Another Rubber Paint experiment!
After the paint fail... it was decided that the car deserved a treat. In this case, to remove the failed paint and add a fresh colour.
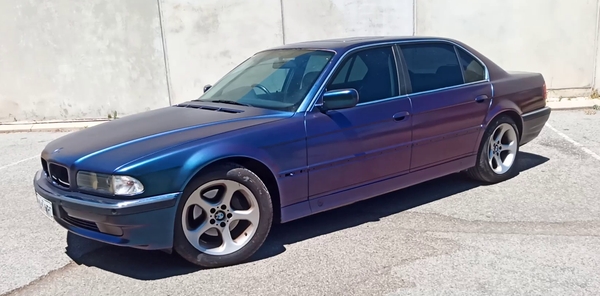
We decided that the original plan, to keep a dark colour scheme in true Limo style, was a good idea.
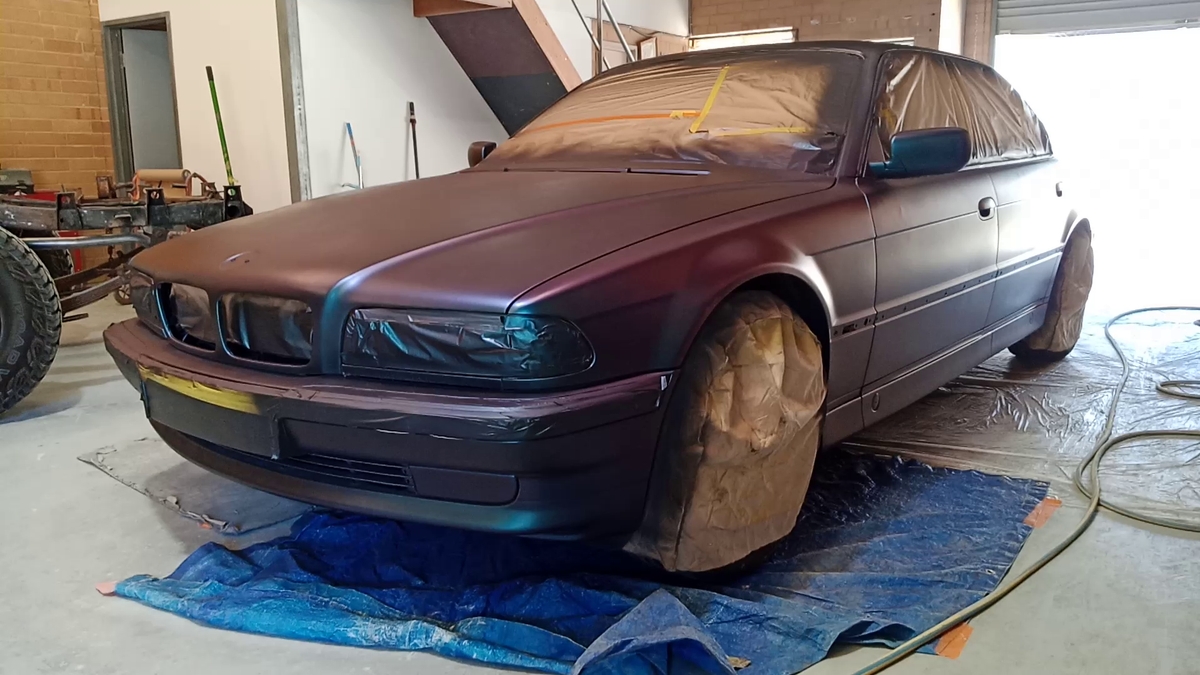
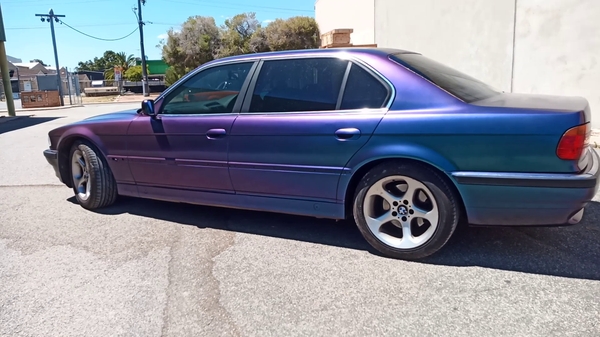
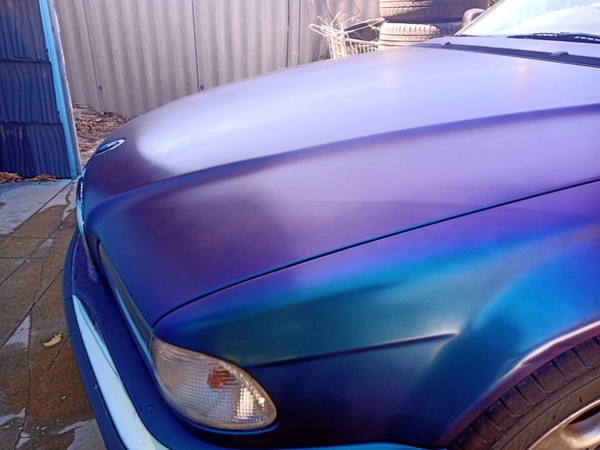
I spent a bunch more time looking on the internet and found a lovely red/blue/purple colour shift combination that would work nicely on the car as well as provide something different.
The pigment manufacturer makes all manner of options including a really fine colour change powder that is almost a mirror finish.
Nice!
Of course the mirror finish material is horrifically expensive, so one step less fine was what I got.
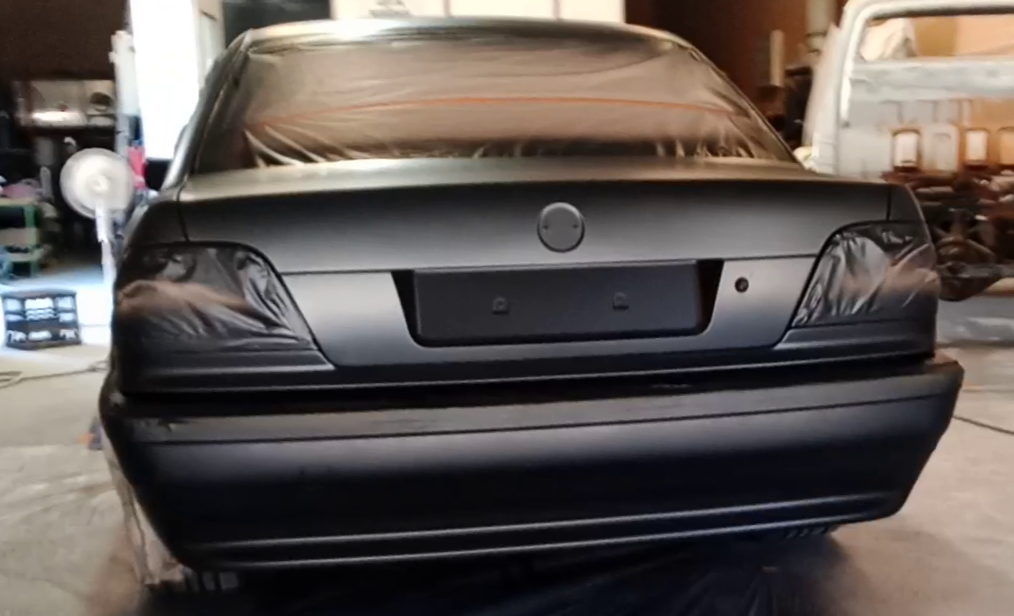
Step 1 - remove the existing paint
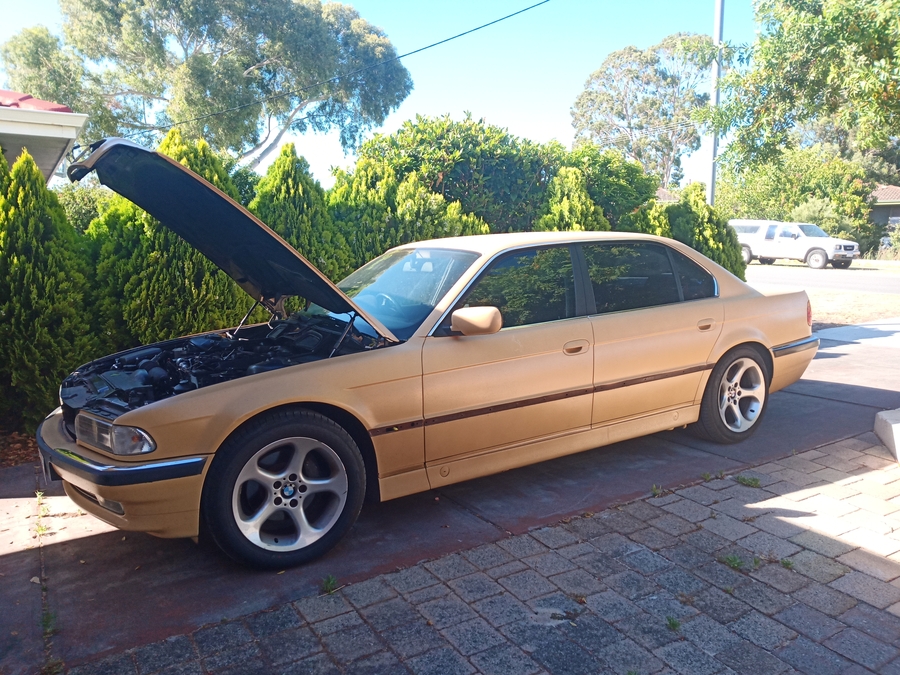
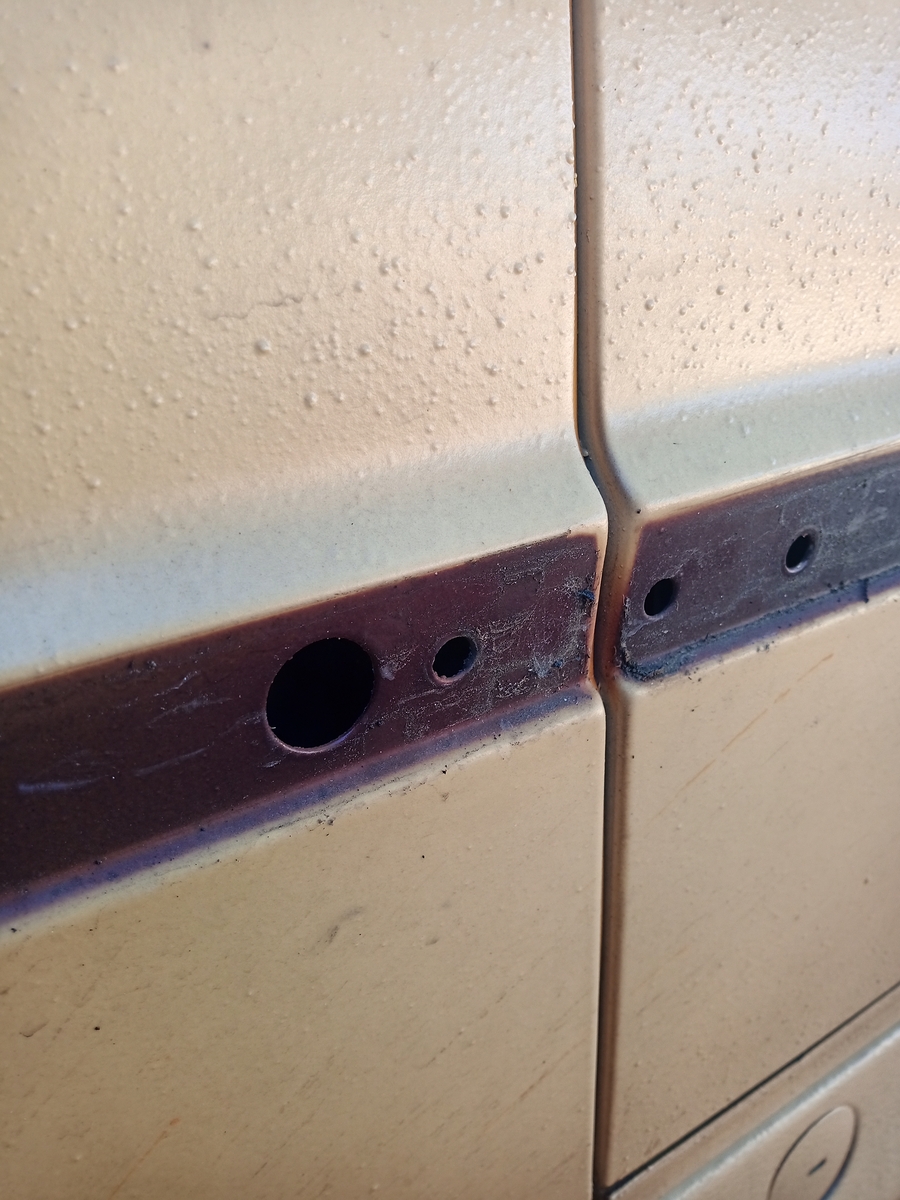
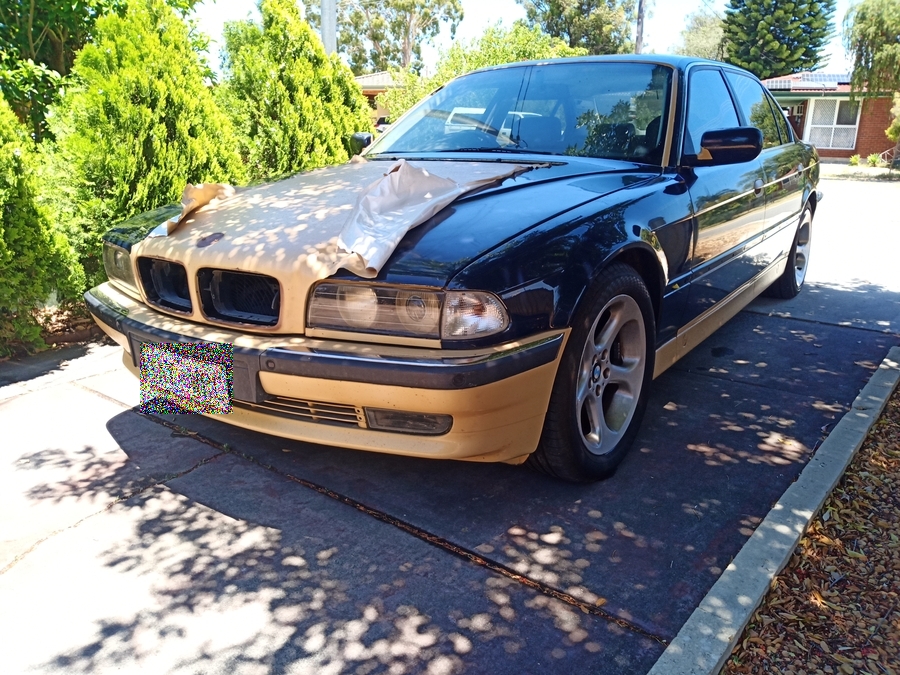
Most paint jobs require a bunch of preparation. This is no different. Because I had done most of the required prep before the last paint job I really only had to remove the existing rubber paint. Simple! Well that was the expectation... As it happened I did a really good job at getting the paint to stick. Since the painting I have run the car through car wash machines, water-blasting, scrubbing with brushes, and other experiences normal paint work does not appreciate so much. I tried just peeling the paint off - hard work! I tried peeling edges, then water blasting - limited success there. I used some paint thinner to try and get some edges to budge - they got a bit melty, but falling off did not happen. I did a trip to the local hardware and got some stuff that surely would just melt the paint off - citrus based cleaner concentrate. Well, that did help in some of the finer areas, but just moistening the area, waiting and washing - not as successful as hoped :/ Bah, a pox on being thorough! After about 2 hours (yes yes I am impatient) and the car was mostly done. I decided to leave some areas just for the extra protection (have a look at the photos). Was this wise? lets find out! One area that simply refused to budge was windscreen rubbers and the door rubber lower edges. Not too big of a problem?
Step 2 - get someone who actually knows how to paint to do the application
As it happens I know a character who is extremely well respected for his paint work.
However he has never applied rubber paint.
And he had never applied colour-shift pearls (lots of experience with other styles, just not colour shift).
And he is used to customers who expect (and pay for) a finish that is way better than factory.
I am ok with experiments, the car is a daily driver so perfection is not expected or asked for, and I have no idea about colour shift either.
Well, this should be fun!
So, on the appointed day I arrived at his workshop, helped shove his current project out of the way, and rolled the limo in.
Because this paint does not require baking as would be the case with nasty cyano-acrylate paints we were able to set up a couple of fans, open both roller doors for some air flow through and we were good to go :)
First thing was to unship a supply of paint and the other material.
Then finish pulling the last bits off the car so I could remove the last few bits of paint.
He was most impressed with how quickly preparation was done (none to do).
Woohoo!
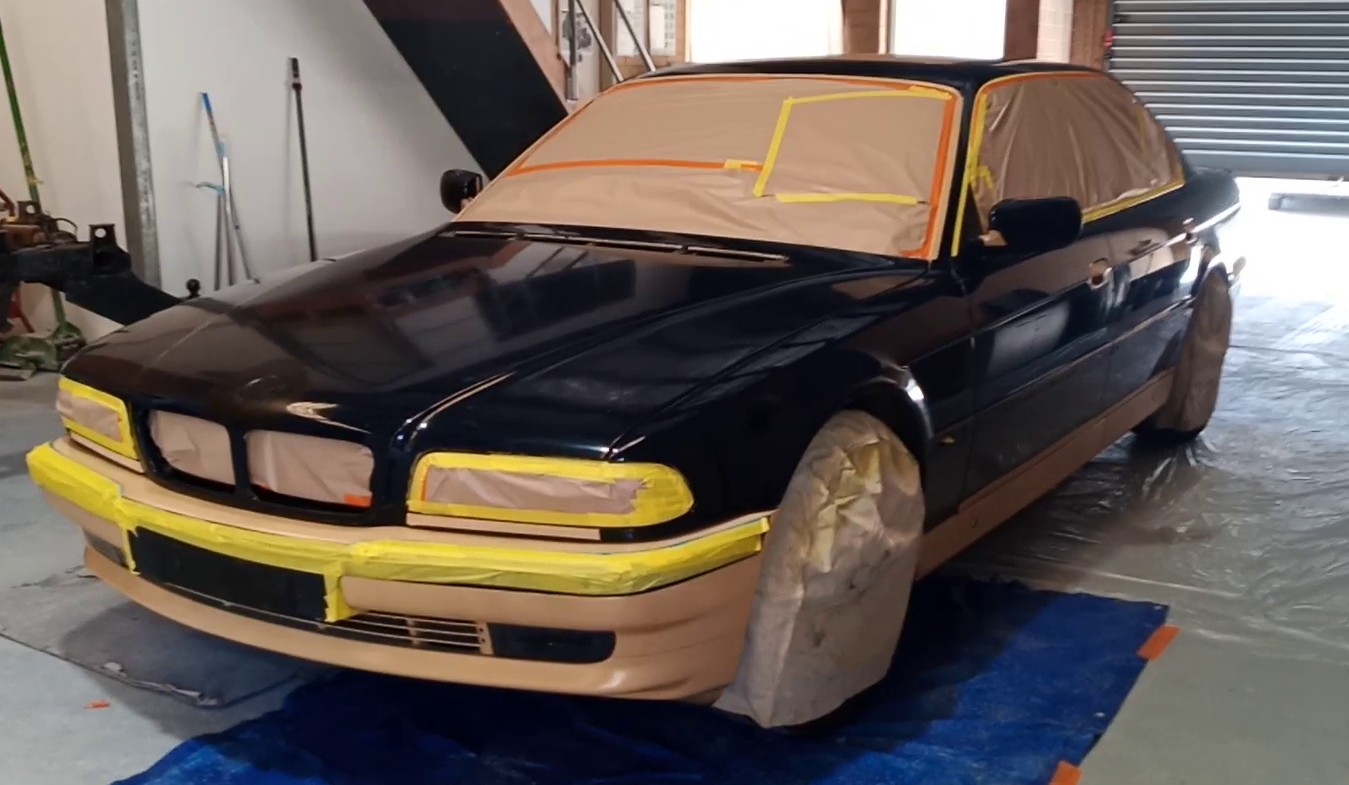
Because I expect no fanciness masking was a case of closing the doors and adding masking.
The car was then given a final clean down with solvent just to be sure it was clean enough for paint to be applied.
Yes, ready to be painted in less than 40 minutes!
The painting process (by an expert)
With the car prep out of the way, the painter prepares paint ready for application. In this instance he started with a spray gun he used for primer. This applies more material than the fine spray finishing gun and is able to cope with the rubber paint being a little thicker than normal finish paint. Black base coat is used to give layers of thickness for protection and provide adhesion between finish coats and original paint material. The first coat is a light spray, similar to a black guide coat over primer. Then a couple of layers at normal thickness to provide a good even finish and ensure coverage.
There does not need to be a lot of time between layers. This dries quite quickly (we were working in about 30 degrees C) so pretty much it was straight on to the next layer without delay.
Once he was satisfied with the black coverage, he stopped, cleaned the paint gun, and prepared the colour-shift material.
Because he was not sure about this I went online and found a 'how to' video for him to watch.
Once he had seen that he was good to go (useful being an expert, right?).
We used a very enthusiastic amount of pearl in the paint.
In this case we took some thinner and mixed in 100gm (about 4 times more than needed), then mixed that with 2 litres of paint.
This was then mixed with a full 4 litre can, pouring between the cans and mixing until we had about 6.5 litres ready to go.
Note: The pearl-paint ratio is probably a bit (a lot) high. Pro and con to this:
pro: material goes on thick, even, and hopefully only one coat across the car.
con: if it is too think there is no going back... unless we start painting again!
Making the mixture lower ratio (say 25gm instead of 100gm) means making multiple passes until expected depth of pearl is gained. Options :)
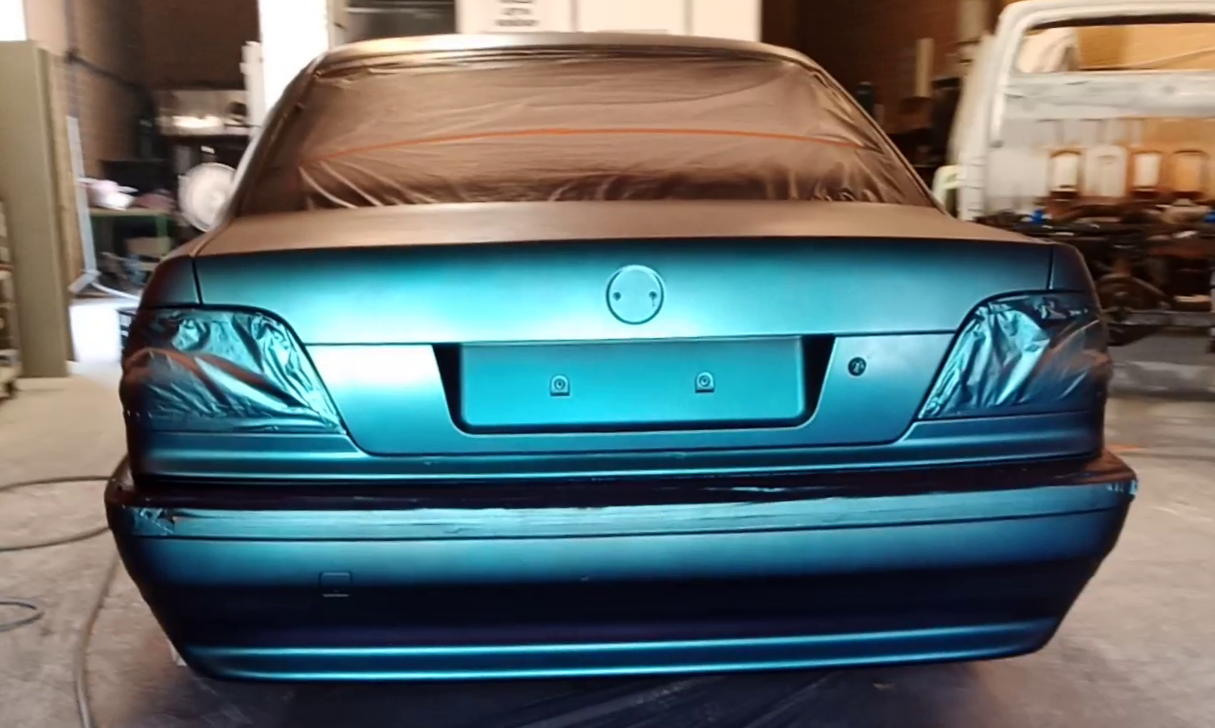
Once he was happy with the pearl layer (one pass in this instance) he cleaned the gun again while I got the final gloss clear ready.
2 layers of clear gloss were applied and all done.
Step 3 - cleaning up
Cleaning up guns, packing materials, and the paint was dry enough for masking to be removed. Put number plates etc back on, and drove the car out of the workshop. Time taken - 5 hours drive in to drive out. Nice!
Is this perfect?
Of course not! We are still experimenting, remember!
Where paint was originally painted over rubber surfaces (windscreen rubber for instance) was incredibly difficult to remove.
I suspect heat actually started getting the rubber paint and rubber material to melt a little and got quite sticky sometimes.
Since it was simply refusing to come off, I decided to paint over it.
More the merrier, right?
Well maybe not.
The new paint started to crack in these areas!
I have not seen this mentioned anywhere else, otherwise I would have spend more effort in removal.
I have since painted over these with black paint in an attempt to tidy this up.
While that has helped, the cracks have re-appeared.
Bah - it is not affecting protection so I am just going to not worry about it.
There is one location where there is a line where not-removed paint meets removed area.
I would have added black base coat until this had disappeared, but the painter did not.
As it happens this is hard to see and unless you knew it was there nobody would notice.
I will keep an eye on it and see what happens :)
There is one location (front bumper bar) where the new paint has caused the paint beneath to peel just a little.
It is unlikely to cause any problems but I know it is there.
I could get going with some thinner and settle it all down, but then I would have to repaint the bar and I am WAAAAY to lazy for that ;)
My opinion, based on the tidying up and removing of odd bits of overspray, that the finish is a bit thin.
This is great if painting with traditional paints, but rubber paint does expect some extra depth of material.
Another couple of black base coats would sort that out.
Take Home lessons
So, for the paint part of the process, an experienced painter could be done in about 6 hours for a car this size. Add prep time and the application bill should not be too bad at all. I have seen advertisements where car painters will do a rubber paint job for under $1500AUD and expect it to be ready for repaint at 5 years (under normal conditions). That seems pretty reasonable to me. The limo took about $500 in materials, so $1000 for (much better than I did) prep, masking, painting, cleaning up labour is on the mark.
Do it thick. Do not be afraid to use too much. In this case, more is better.
When removing previous rubber paint, remove it all. Yes I am lazy, but it is heaps easier to get a really fantastic job if you are not lazy. Seriously, it really is not that hard!
Remember to enjoy!
We love experiments!
As for experiments, I have applied some nano-coating polish stuff to one corner of the car. I am interested to see how this works on rubber paint! I have previously used this on another car, and it was successful at maintaining a nice glossy finish. I have no idea how this will work here so - watch this space!
tags: rubber paint, plasti-dip, experiment,